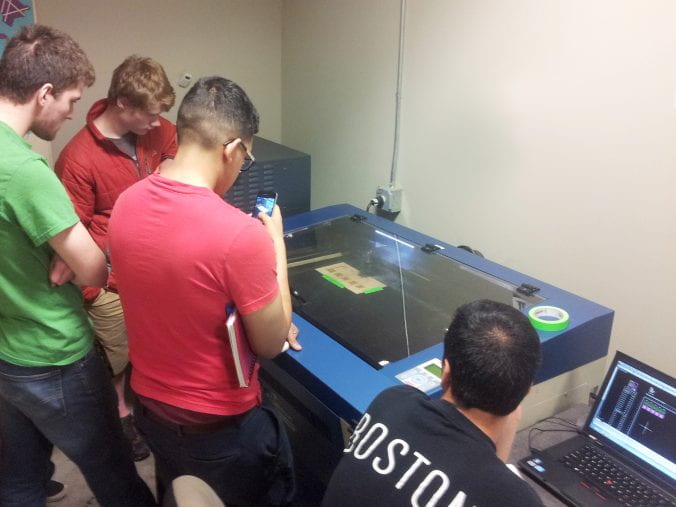
setting up the machine
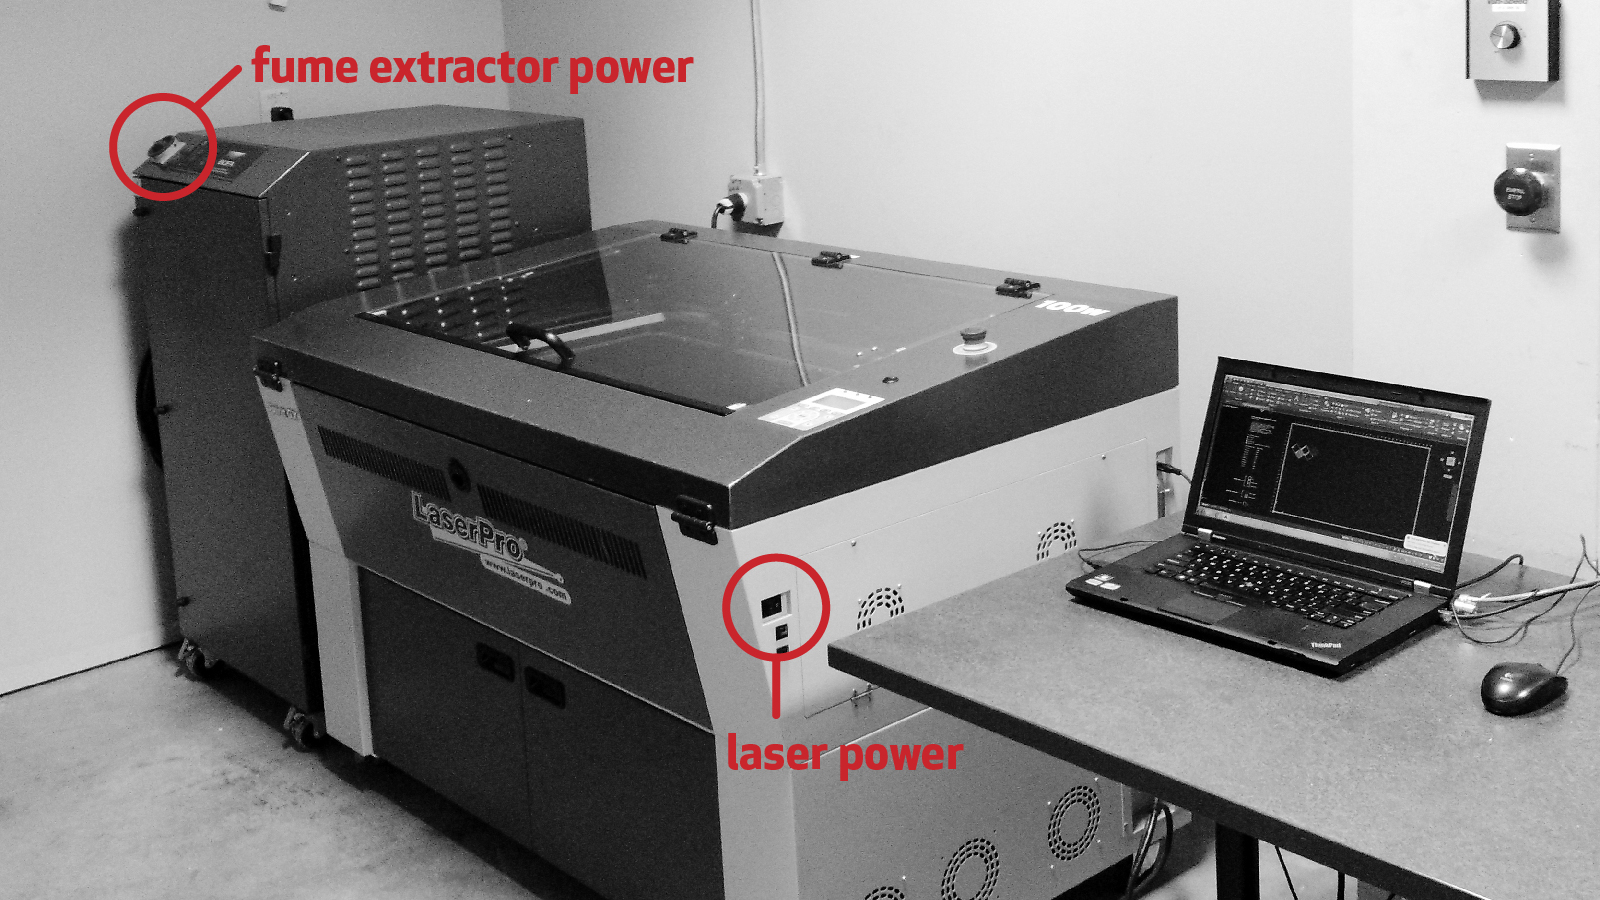
| turn equipment on
turn on the laser cutter and fume-extractor |
 |
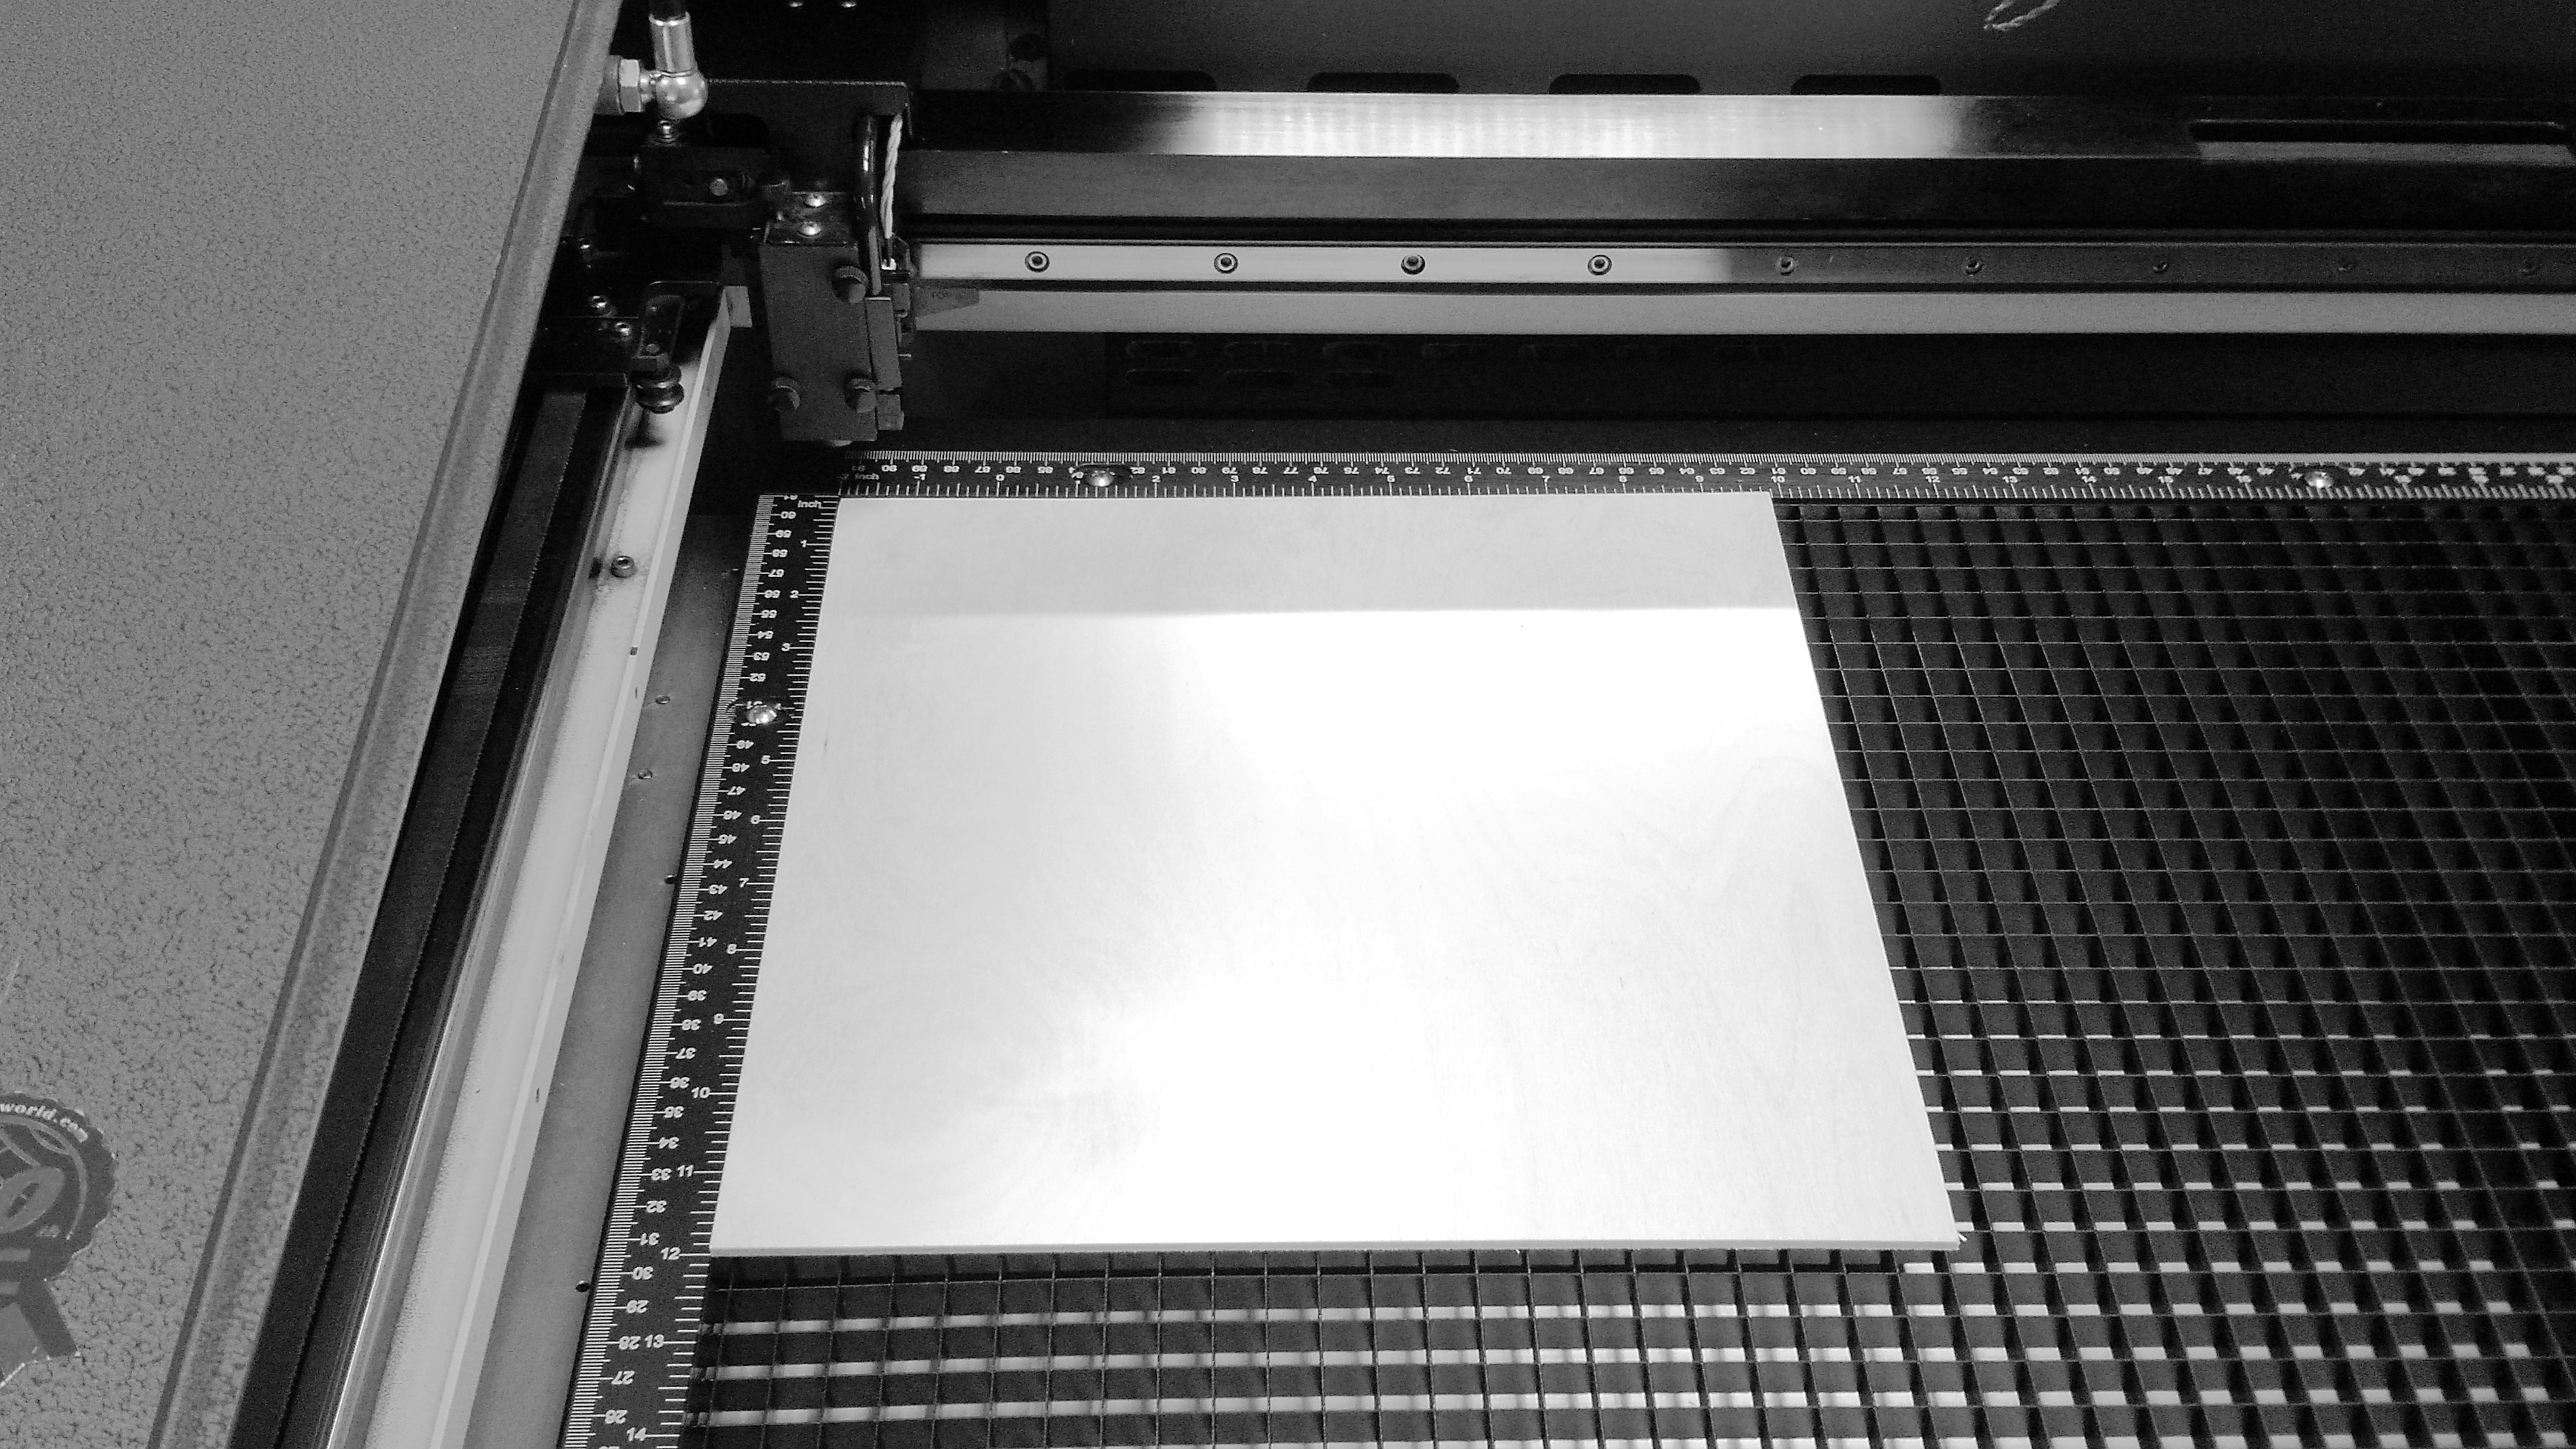
| load material
align material at top-left corner of the cutting table. Use tape if material is slightly bowed. See the material guide for maximum material sizing and allowable materials. |
 |
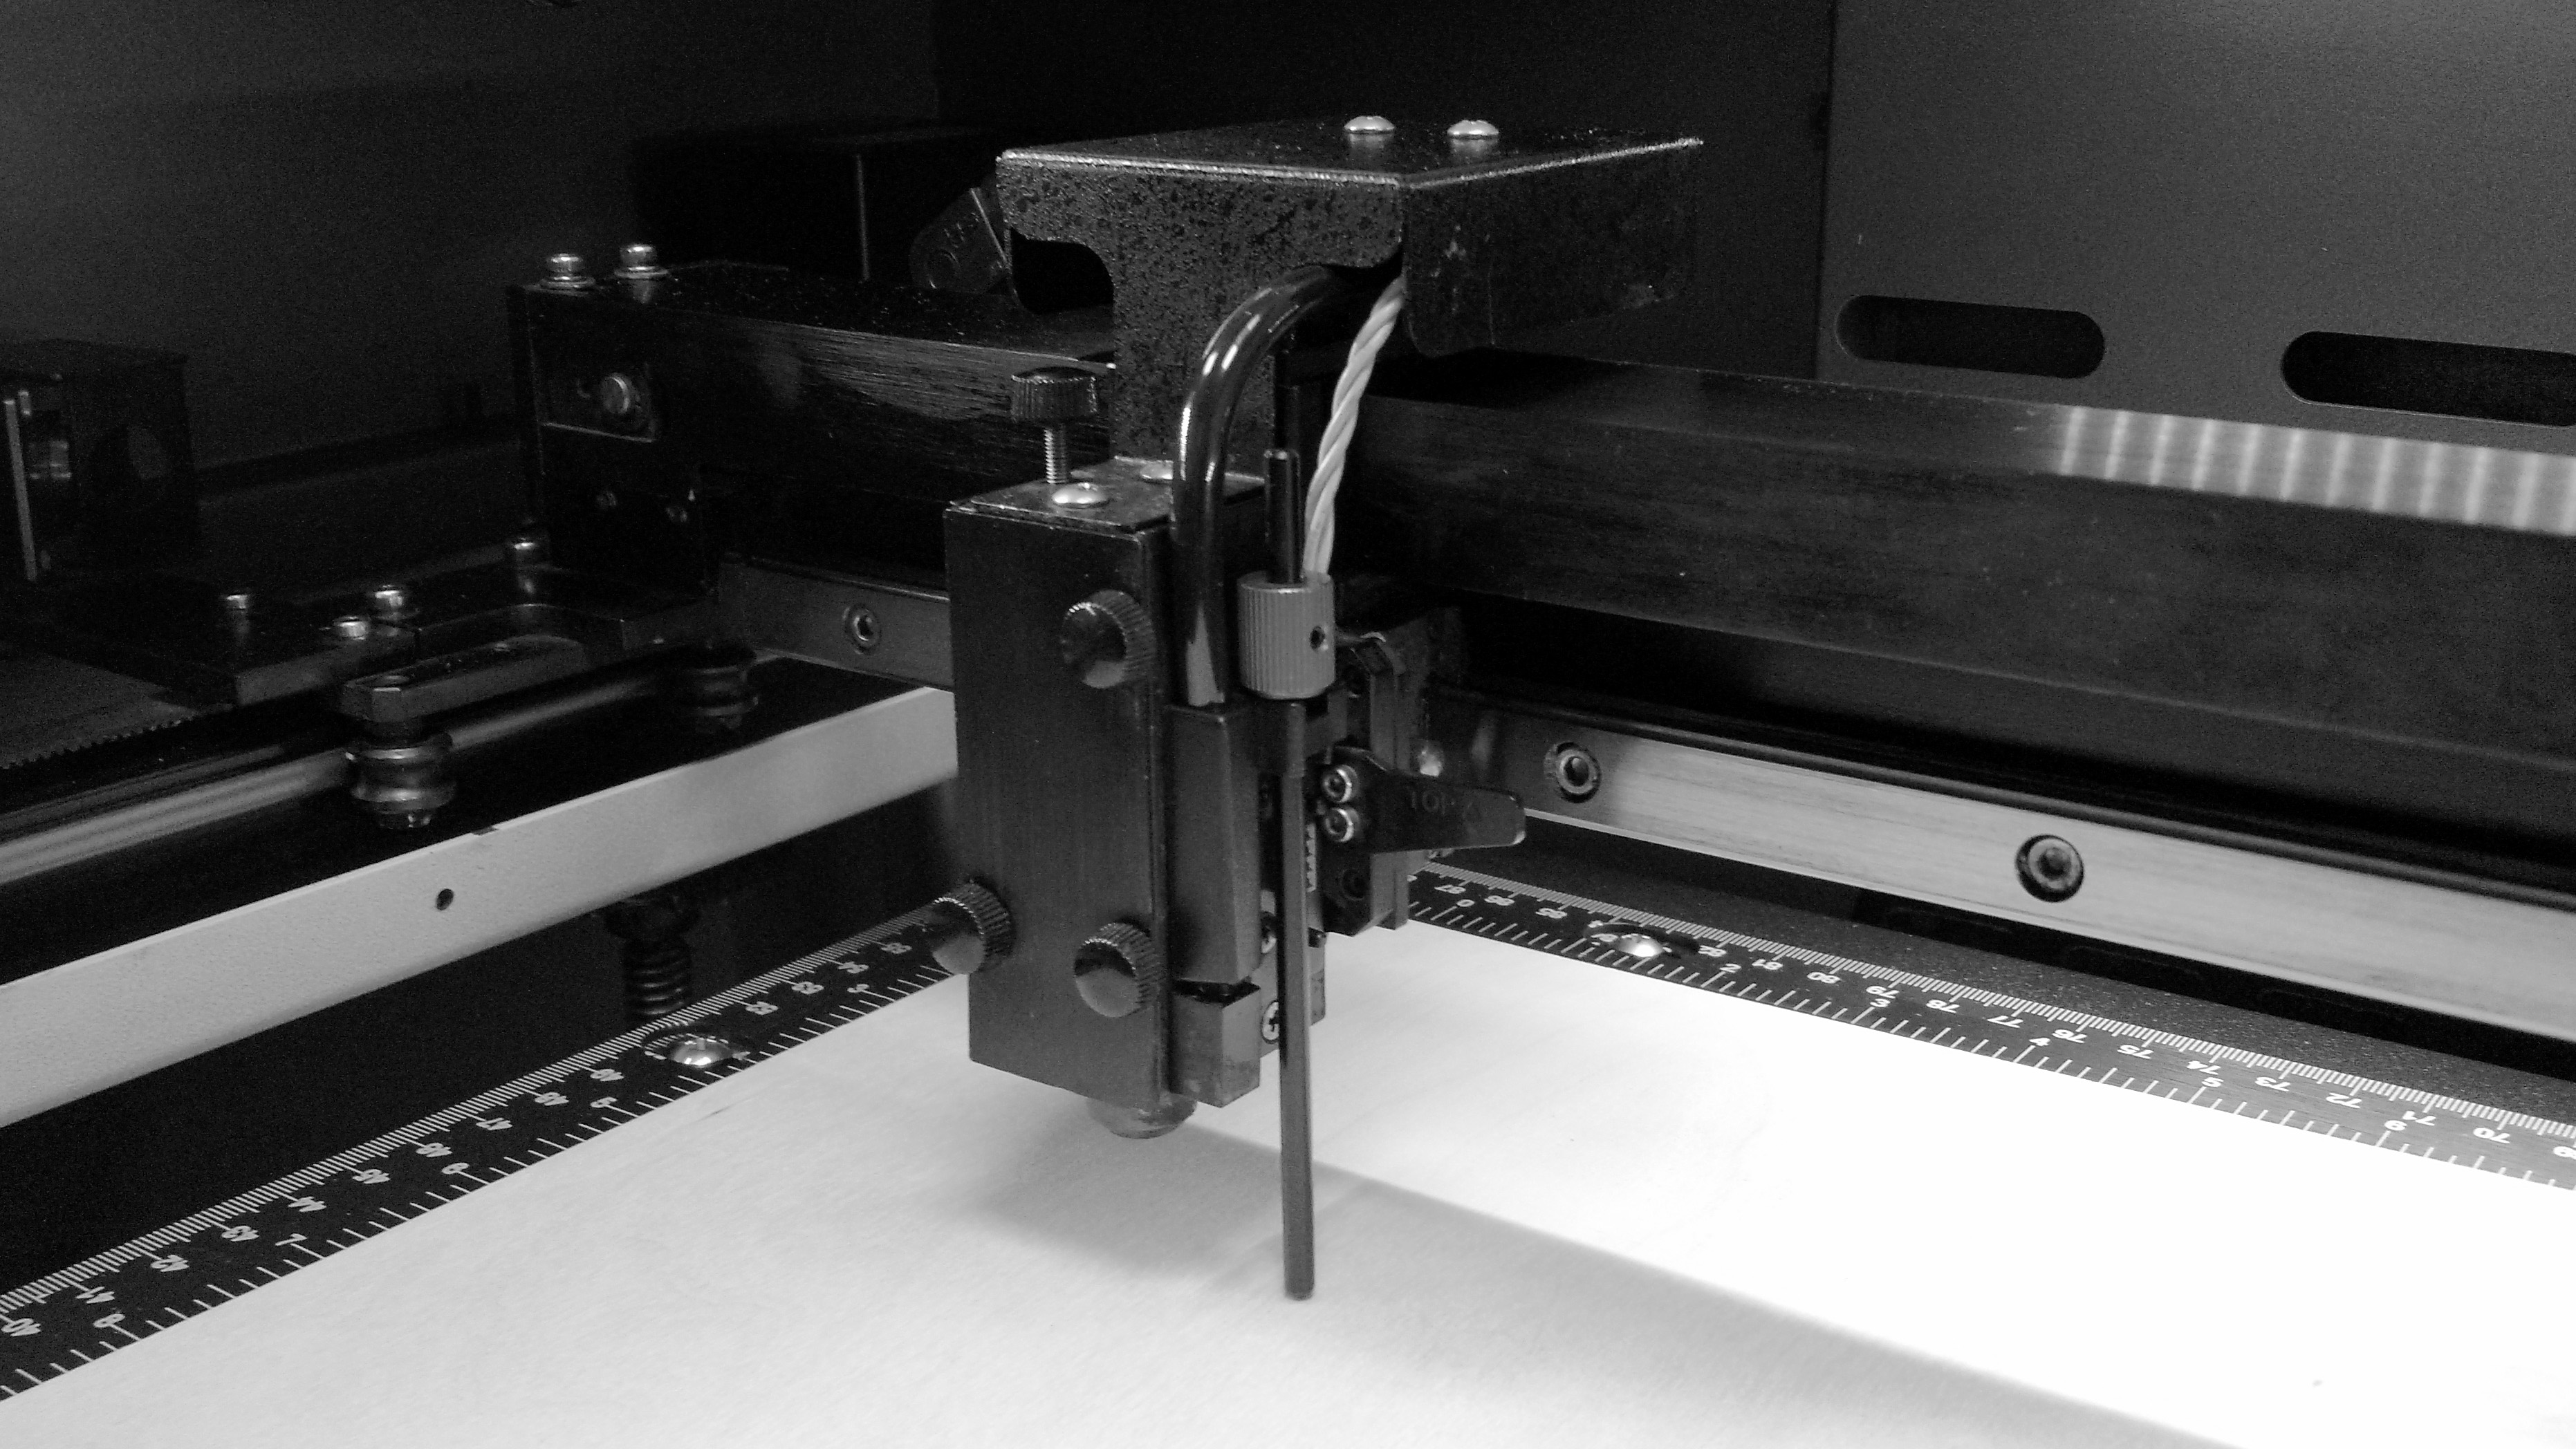
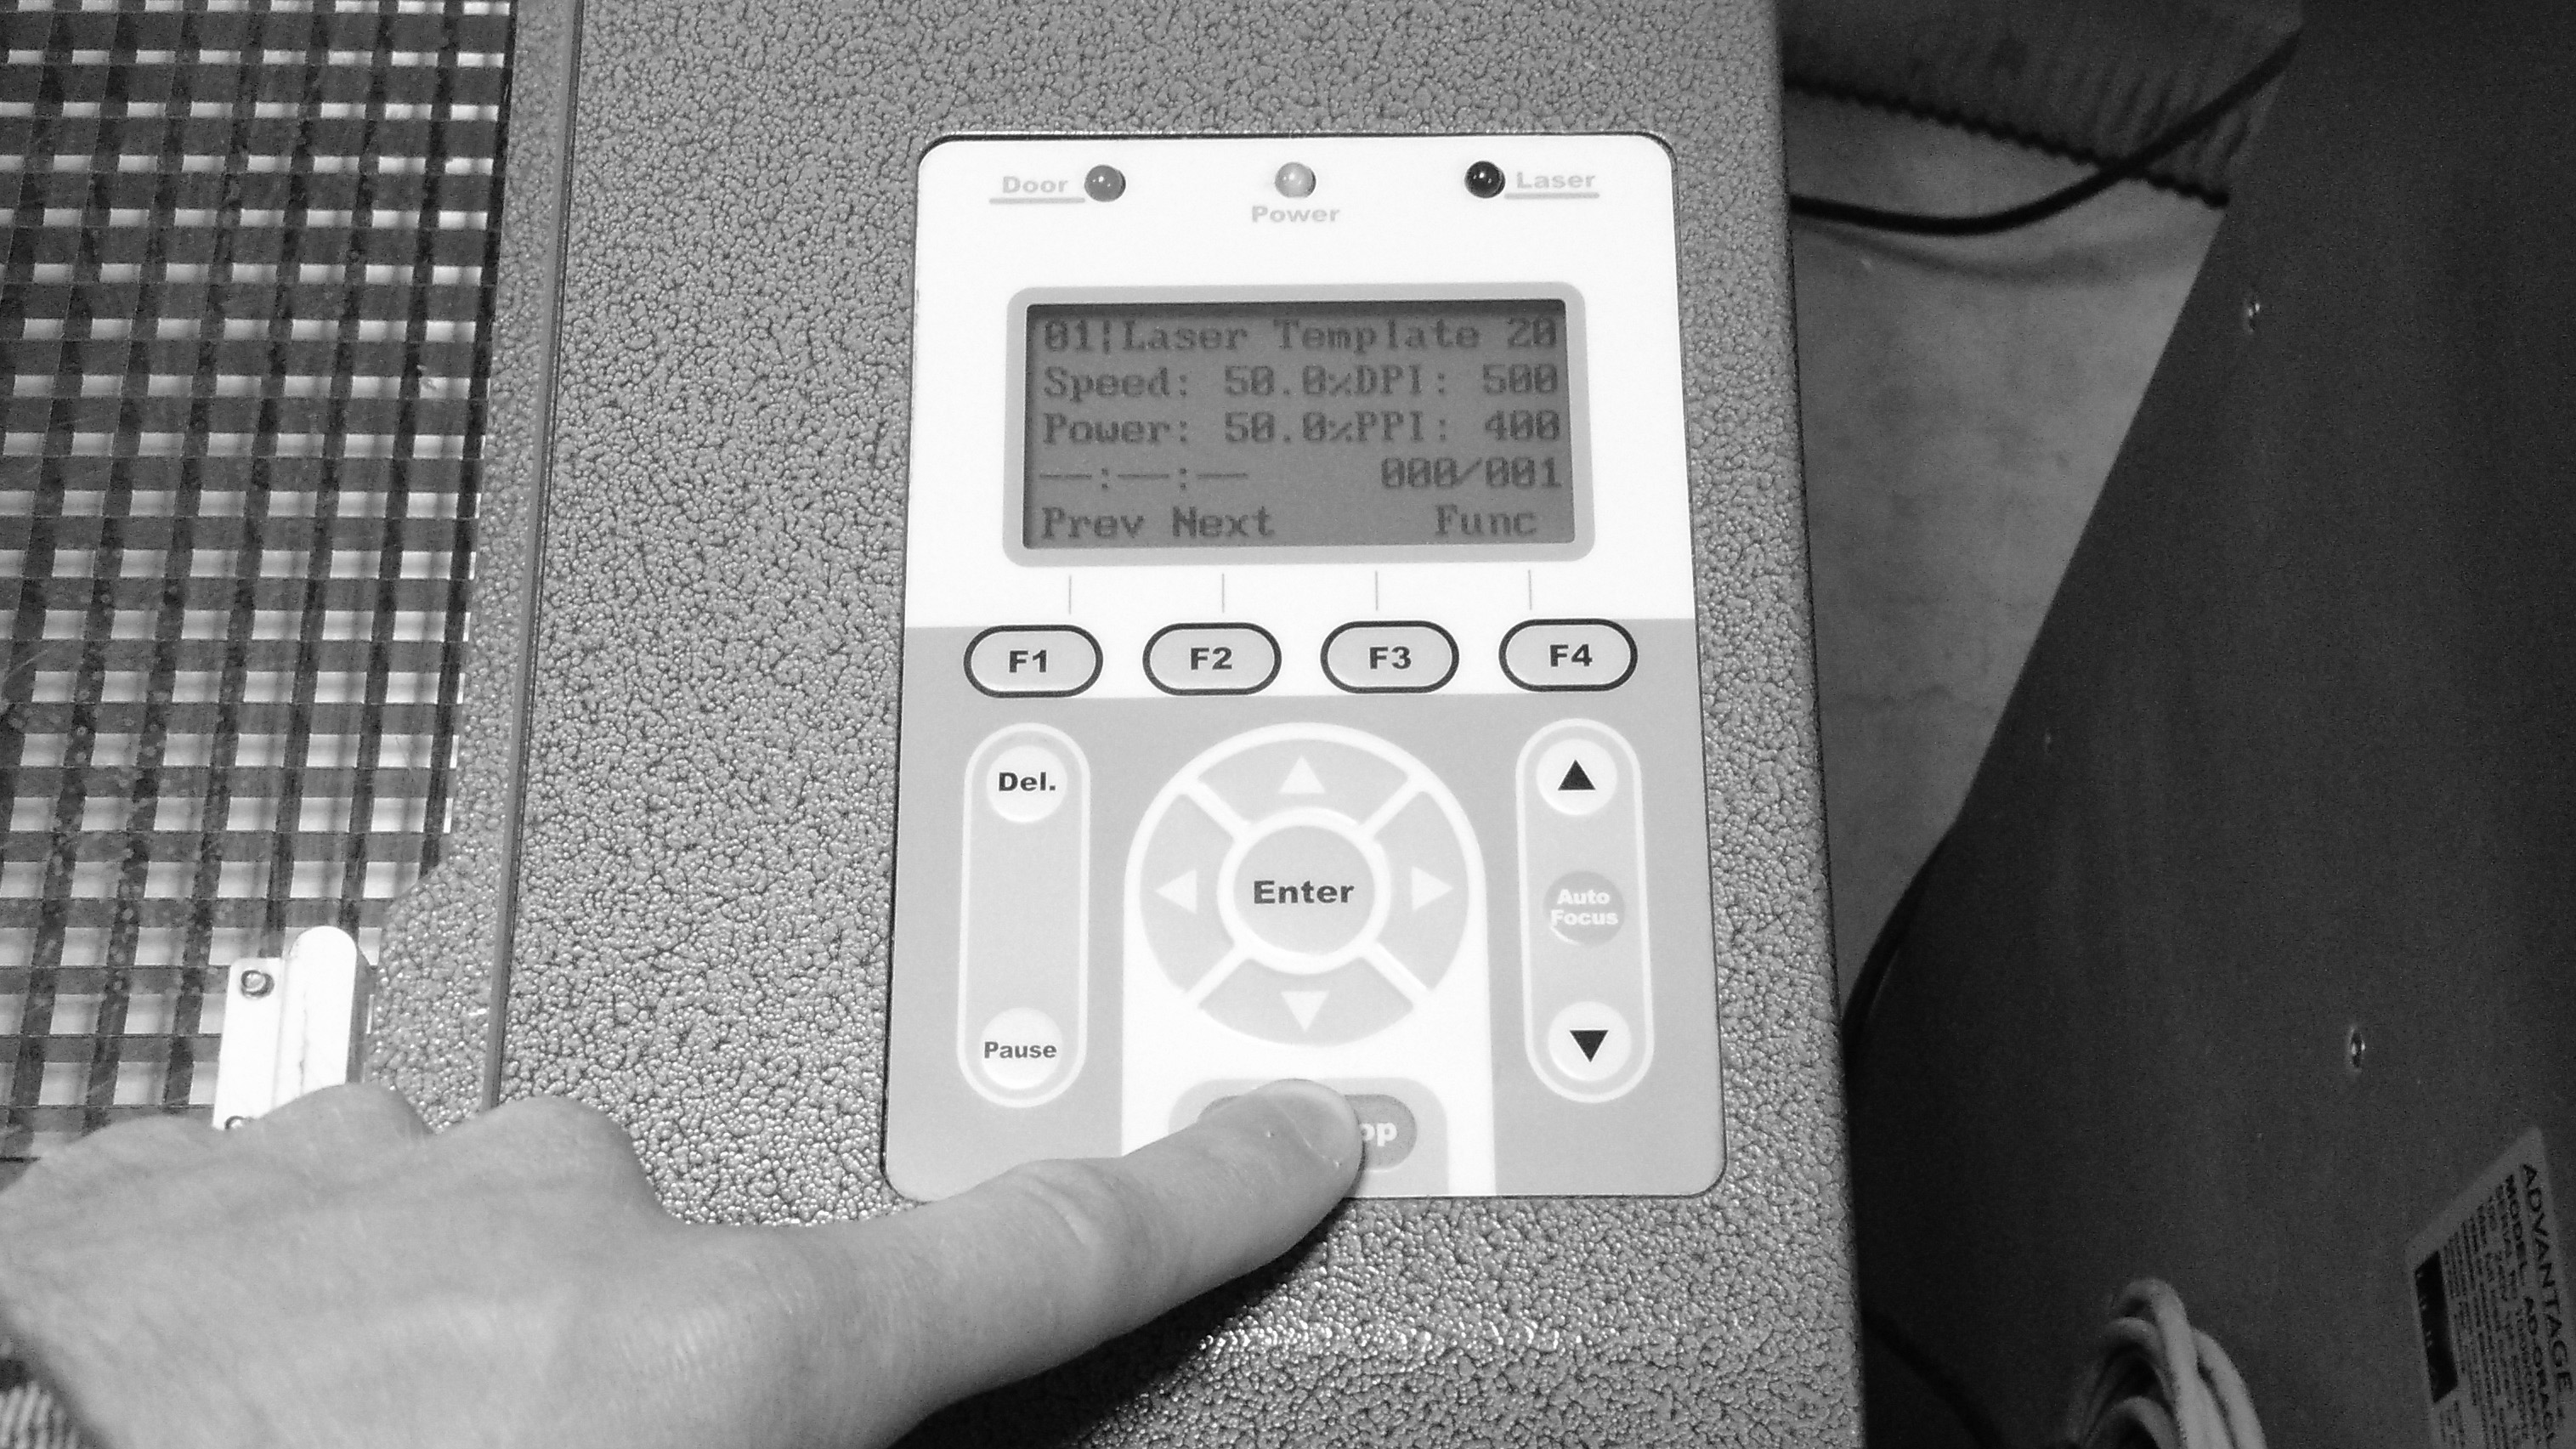
| focus laser
focus the laser by adjusting the height of the cutting table using the control panel. Adjust the height of the cutting table so the tip of the focus pin just touches the top surface of the material. |
 |
setting up a + running a file
| download AutoCAD template and import linework
Download the most current AutoCAD template file. import and scale your linework so it fits on the material you are engraving. Set up your cut-file on your computer before your scheduled laser time slot. |
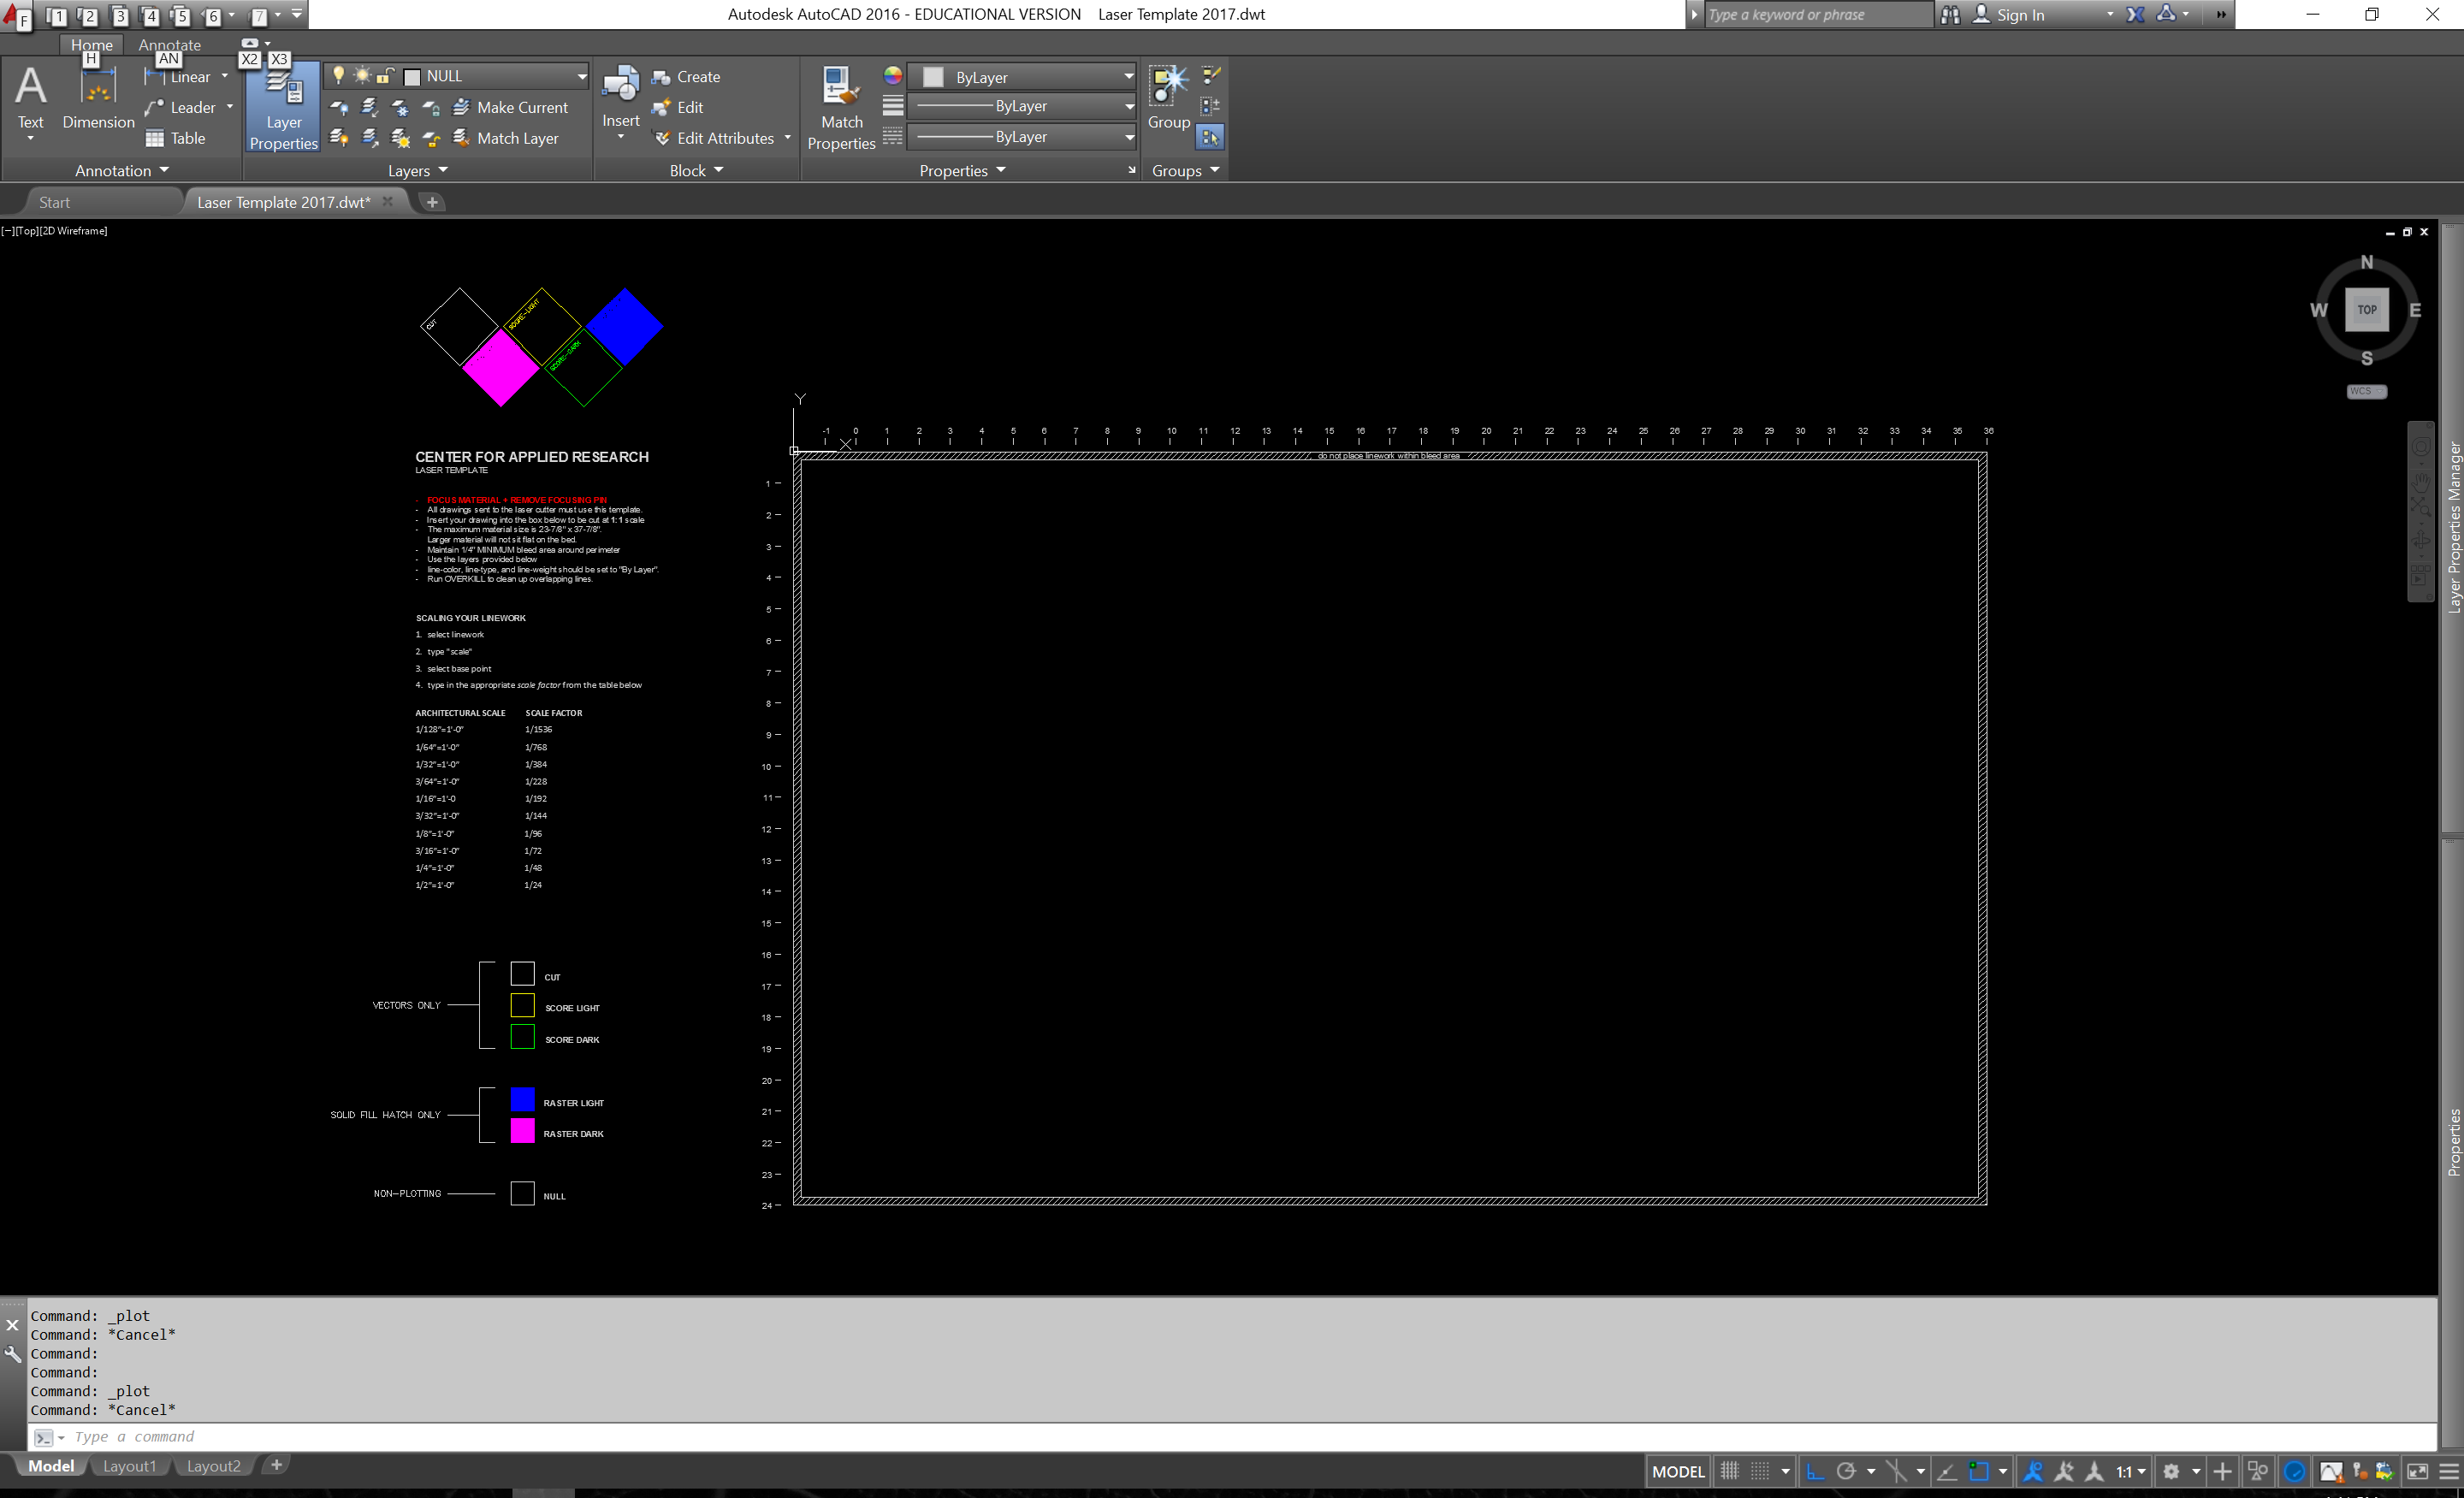 |
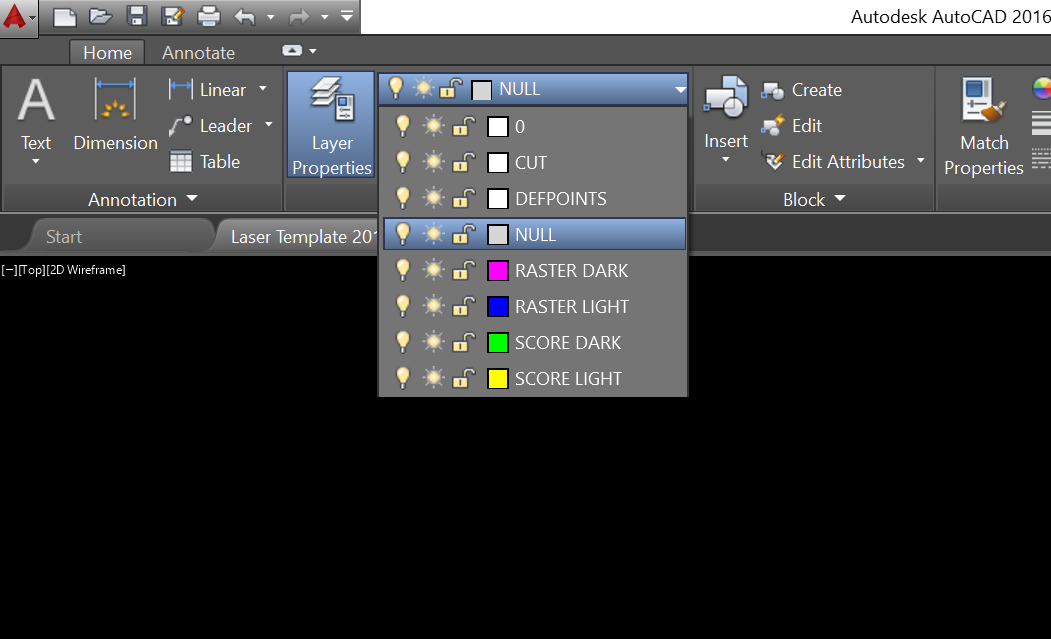
| assign linework to cutting / engraving layers
assign all your linework to one of the 5 cutting / engraving layers. All linework sent to the laser MUST be on these layers or the job will fail.
|
 |
| plot the file + select material preset
The laser cutters are setup as as a plotter. All settings for the laser cutters are applied through the plot dialog window. Select the appropriate preset for the type and thickness material you are engraving. |
 |
| select plot area
Select paper size and orientation. Make a window selection aligned to the extents of the cutting area. This ensures your linework will be registered correctly on the laser cutting table. |
 |
| run the file
Press the start / stop button on the control panel. Press the pause button if you ever need to leave the Laser Lab for any reason [even if it’s “just for a moment”]. |
 |
clean-up
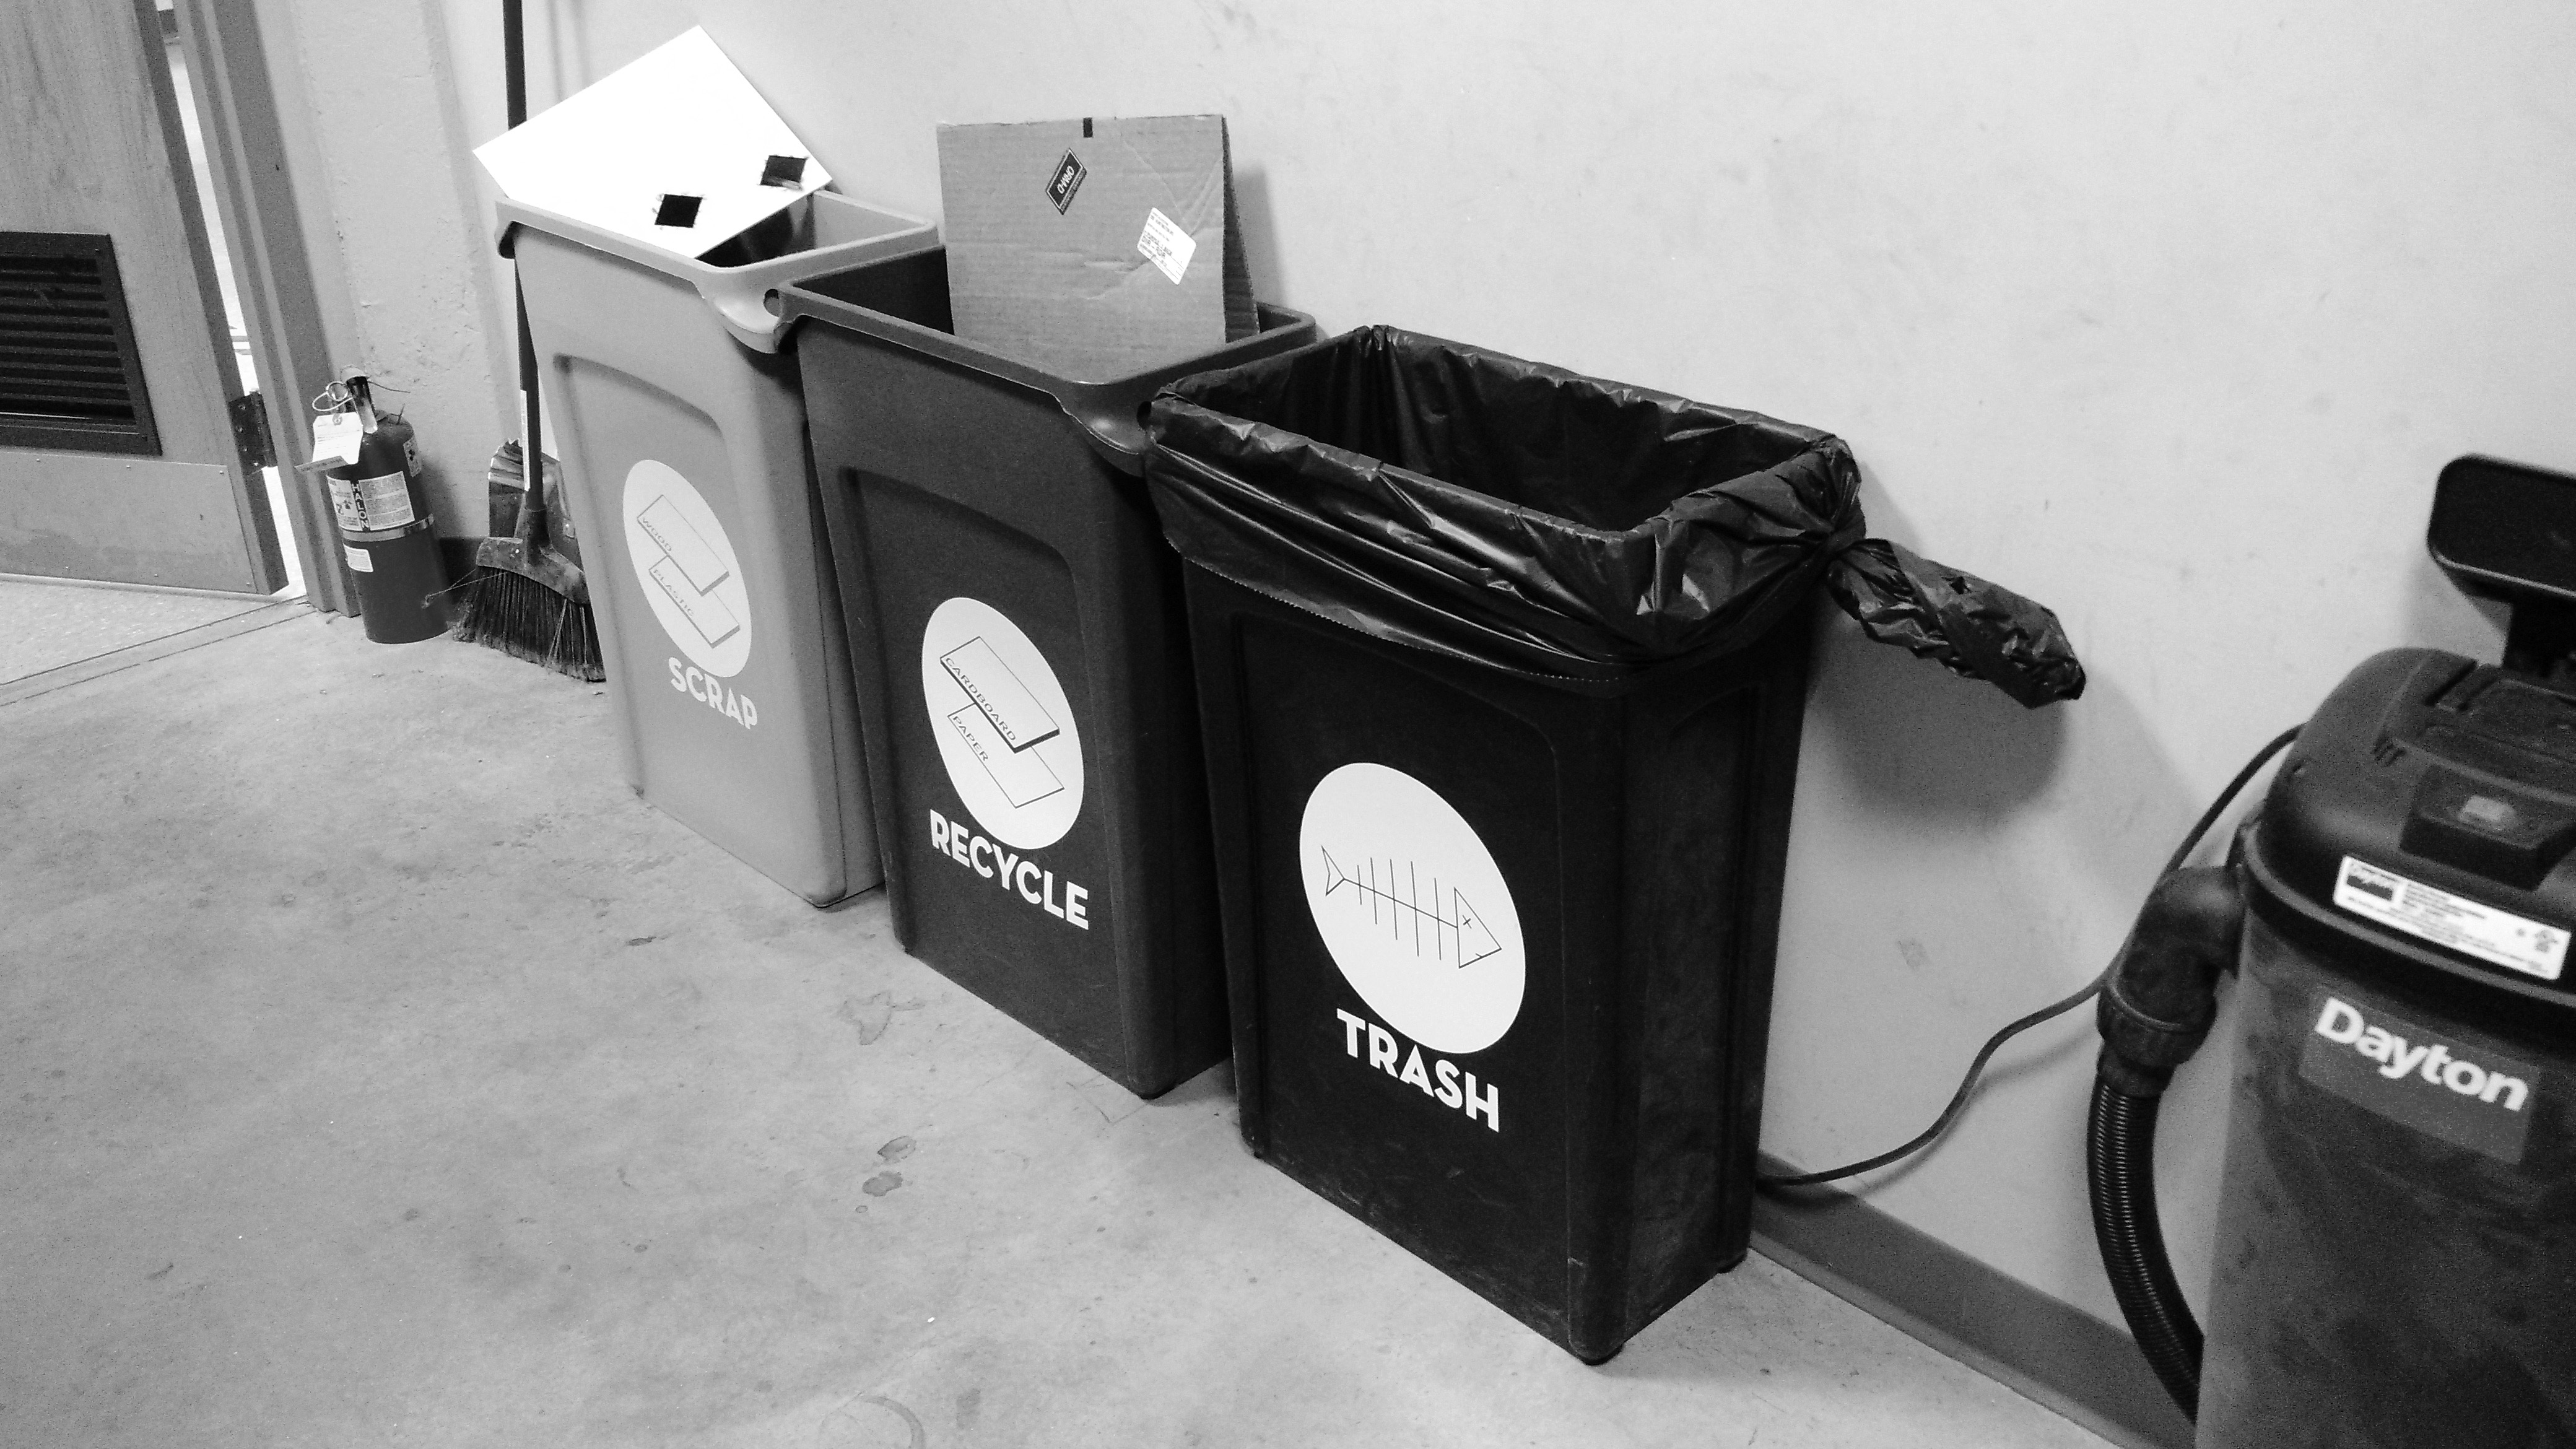
| clean up scrap
dispose of scrap materials in appropriate bins: SCRAP: large plastic and wood scrap Use of the large garbage and recycle bins in the hallway for larger waste. |
 |
tips for success / troubleshooting
If your file does not cut as expected, or stops part-way through, here are some suggestions:
- confirm that all linework within the plot area is set to:
- Object Color: ByLayer
- Lineweight: ByLayer
- Linetype: ByLayer
- use the purge command to purge the file of unused geometry and zero-length geometry [points].
- check that all linework being plotted is on one of the pre-set cutting, scoring, or raster layers in the template file.
- confirm that solid-fill hatch objects and vector objects are on appropriate layers:
- solid fill hatches and text with solid fill should be assigned to RASTER LIGHT or RASTER DARK
- vector objects should be assigned to CUT, SCORE LIGHT, SCORE DARK
Still having issues? Some helpful tips when trying to isolate an issue:
- try plotting one layer at a time.
- try plotting only a portion of the drawing at a time. It can be sometimes be difficult to isolate an issue in large files with lots of geometry.